How to store information in the Journal using Mono
The aim of this lab is to discover how to store information in the Sugar journal. In this lab we will take the activity from the previous lab (Lab 1) and add to it a text entry that we'll save in the journal at the end of application.
Step 1: Add an entry field
Let's take the activity in the previous lab. If need you could retrieve the source code in the directory "/home/user/LabSource/lab1/".
First, we will add an entry field on the screen.
- Launch MonoDevelop environment (Applications/Programming/MonoDevelop)
- Open solution from lab1 (File/Recent Solutions/LabActivity)
- Open the file MainWindow.cs
- Add an Entry field as an instance variable of the class, and initialize this field in the class constructor. New lines to add are commented below.
Note that the following source code could be retrieve at "/home/user/LabSource/lab2/step1".
public class MainWindow : Sugar.Window
{
	public new static string activityId="";
	public new static string bundleId="";

	Entry _entry;  // Added

	public MainWindow(string activityId, string bundleId) : base("Lab",activityId, bundleId)
	{
		this.SetDefaultSize(400, 400);
		this.Maximize();
		this.DeleteEvent += new DeleteEventHandler(OnMainWindowDelete);

		VBox vbox=new VBox();
		vbox.BorderWidth = 8;
		Label _text = new Label("Hello Lab Activity");
		vbox.Add(_text);
		_entry = new Entry();   // Added
		_entry.Text = "";   // Added
		vbox.Add(_entry);  // Added
		Button _button = new Button();
		_button.Label = "Quit";
		_button.Clicked += new EventHandler(OnClick);
		vbox.Add(_button);


		this.Add(vbox);

		ShowAll();
	}
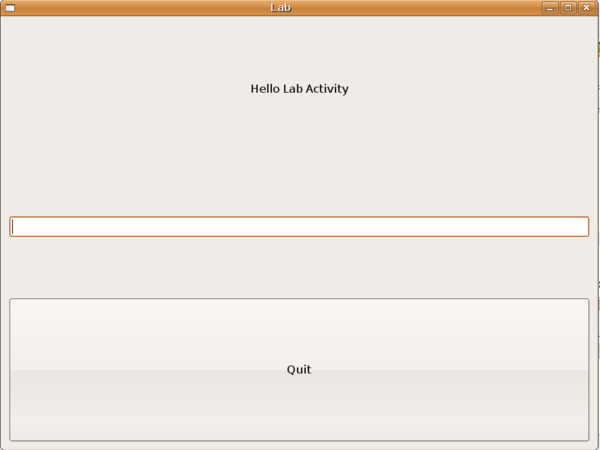
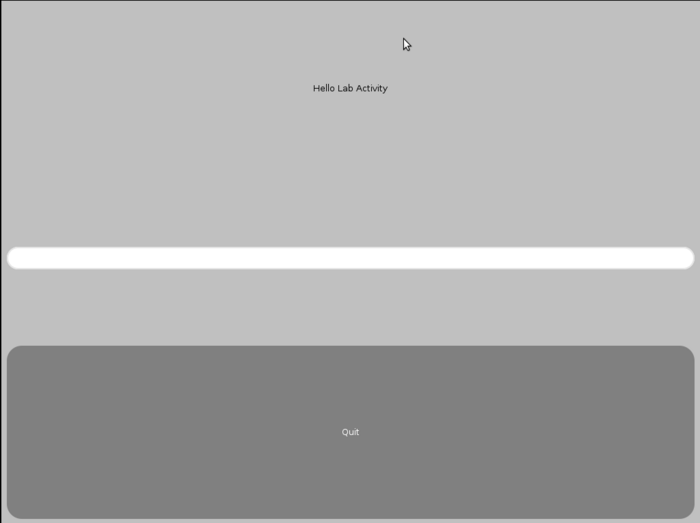
Build and launch the application using "Project/Run", you should see this:
Step 2: Retrieve the id parameter
When an activity start from the journal, it receive one more parameter: its context. This parameter should be retrieved by the activity. This id is the identifier value of the corresponding entry in the DataStore.
So, we're going to update our application to process this new parameter.
First, we'll add it in the class. The new line to add is commented below:
	public class MainWindow : Sugar.Window
	{
		public new static string activityId="";
		public new static string bundleId="";
		public static string objectId="";              // Added

		Entry _entry;
		...
Let's now update the entry point of the activity to process and store the "objectid" parameter.
		public static void Main(string[] args)
		{
			System.Console.Out.WriteLine("Lab Activity for OLPC");

			if (args.Length>0) {
				IEnumerator en= args.GetEnumerator();
				while (en.MoveNext()) {
					if (en.Current.ToString().Equals("-sugarActivityId")) {
						if (en.MoveNext()) {
							activityId=en.Current.ToString();
						}
					}
					else if (en.Current.ToString().Equals("-sugarBundleId")) {
						if (en.MoveNext()) {
							bundleId=en.Current.ToString();
						}
					}
					else if (en.Current.ToString().Equals("-objectId")) {         // Added
						if (en.MoveNext()) {   // Added
							objectId=en.Current.ToString();  // Added
						} // Added
					}  // Added
				}
			}

			Application.Init();
			new MainWindow(activityId, bundleId);
			Application.Run();
		}
- Launch the build using "Project/Build Solution"
- You don't have any error at the end of the build. Don't run the activity yet.
Step 3: A new file type
To store the context of the application, we 're going to declare a new file type. All should be done in the "activity.info" file where all properties for the application.
You probably remind that this file is in the "LabActivity.activity/activity" directory. The property "mime_types" should be set.
[Activity]
name = LabActivity
activity_version = 1
host_version = 1
service_name = org.olpcfrance.LabActivity
icon = activity-labactivity
exec = labactivity-activity
mime_types = application/vnd.labactivity
This property allow you to say which file types are usable for the activity. Here we set a new file type named "application/vnd.labactivity".
Step 4: Store activity context
We could now store the context for the activity. With Sugar, everything is done to avoid users (mostly children) thinking to save what they currently done. So, most often, the activity context is stored automatically, usually at the end of the activity. It's exactly what we're going to do now.
All these operations need to handle the "Datastore". The Datastore is the file system of Sugar. The DataStore provide an isolated means of storage for each activity. The Datastore saves both physical data and property to describe the data.
See http://wiki.laptop.org/go/Sugar.datastore.datastore for more information on DataStore.
Let's start by adding two namespace declaration that we need:
		using System.IO;
		using Mono.Unix;
Here is the SaveFile method to add:
		void SaveFile()
		{
			// 1) Get path for the instance
			String tmpDir=System.Environment.GetEnvironmentVariable("SUGAR_ACTIVITY_ROOT");
			if (tmpDir==null)
				tmpDir = "./";
			else
				tmpDir += "/instance";

			// 2) Write the file with our context
			UnixFileInfo t = new UnixFileInfo(tmpDir+"/labactivity.dta");
			StreamWriter sw = new StreamWriter(t.FullName);
			sw.WriteLine(_entry.Text);
			sw.Close();

			// 3) Create the Datastore object
			DSObject dsobject=Datastore.Create();
			dsobject.FilePath=t.FullName;
			dsobject.Metadata.setItem("title","LabActivity");
			dsobject.Metadata.setItem("mime_type","application/vnd.labactivity");
			byte[] preview=this.getScreenShot();
			dsobject.Metadata.setItem("preview",preview);

			// 4) Write the object to the Datastore
			Datastore.write(dsobject);
		}
First, we need to retrieve the directory for the instance of the current activity. This directory could be retrieved in the value of the SUGAR_ACTIVITY_ROOT environment variable. The specific case of the null value is processed because the SUGAR_ACTIVITY_ROOT is not set by the Sugar emulator.
In the second step, the context is stored in a file created in the instance directory. Here, our context is just the content of the entry field. All file handling uses standard .NET features of StreamWriter.
Then, we will create a new object in the Datastore using Sugar library. This command will add a new entry in the Journal. We set to this object the file path for the created file. Then we set all properties for this object:
- title is the title for the activity. We're using the name of the activity but lot of activities allow user to custom this title,
- mime_type is the MIME type for this entry, we're using here the MIME type defined in the "activity.info" file to allow Sugar to match it to the activity runtime,
- preview is the image displayed in the detailed view of the Journal. The Sugar library allow us to set directly it with a screen capture. However, any image could be set here.
Finally, we just store the new object in the Datastore using "write" method.
Now, we need to call this method. As mentioned before, we will call it when the window is closed, just before the end of the activity (show the commented line below).
	void OnClick(object sender, EventArgs a)
	{
		SaveFile();         // Added
		Application.Quit();
	}
Launch build using Project/Build Solution"
Then let's deploy the activity using the "./deploy" script. If asked, type the password "user".
We're now starting Sugar emulator from the desktop.
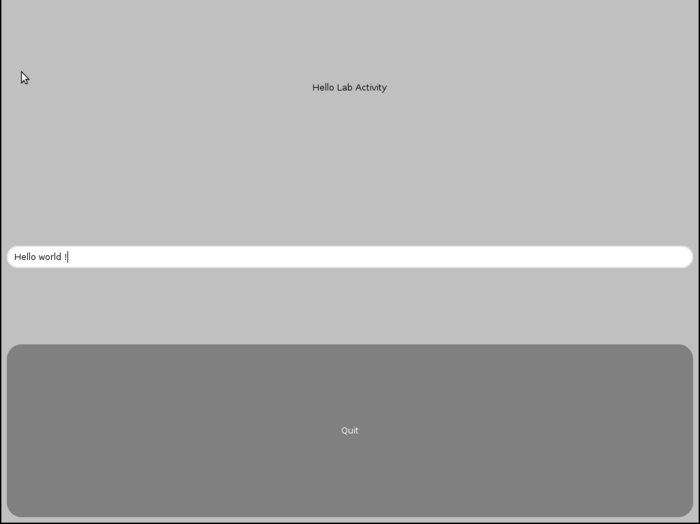
Click on the activity's icon (the square) to run it, you should see the new entry field. Type a value in the field.
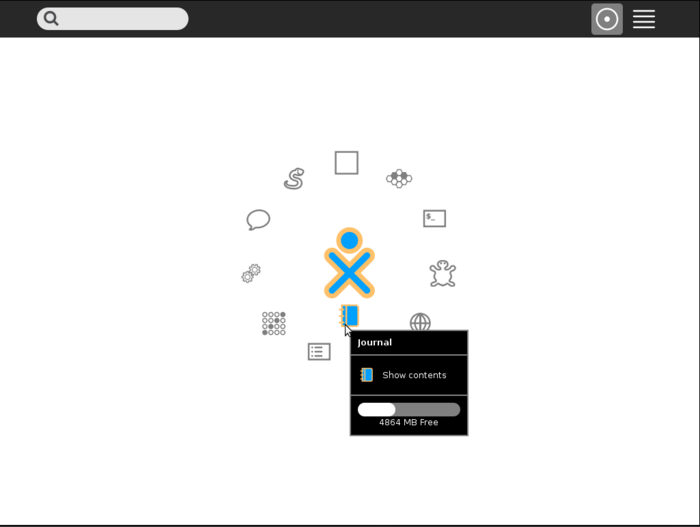
Close the application using "Quit" button then run the Journal by a click on its icon.
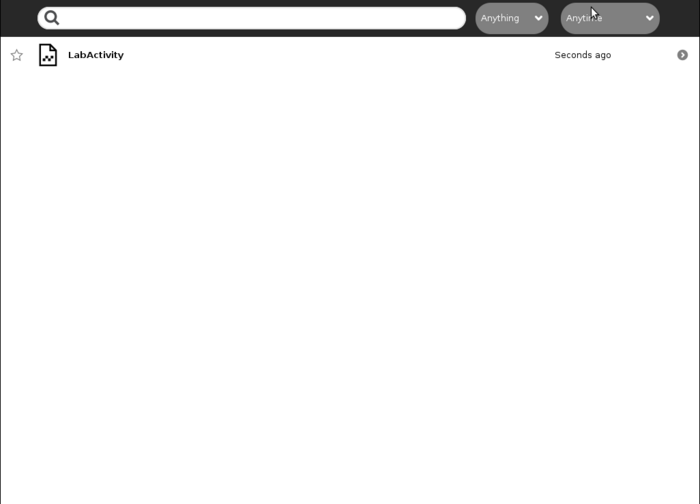
A new entry will appear in the Journal for the activity:
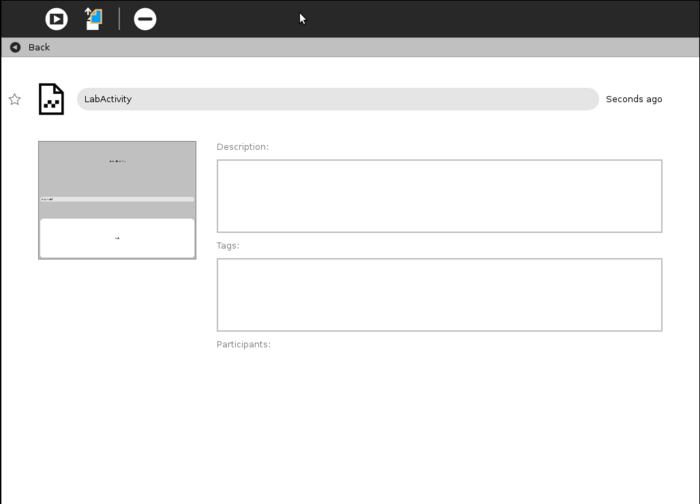
Click on the arrow to the right to see the detailed view and all the properties of this entry. You could see the screen capture that we set previously. If you've got good eyes, you could see the value you typed for the field.
Let's launch the activity from the Journal using the launch arrow to the upper left. Here what you could see:
The activity works but the entry field is not set. It's exactly what we expected: the next step in the lab will set the right value here.
Quit the activity using the "Quit" button then quit the emulator, for example using the shortcut "ALT+Q".
