Difference between revisions of "Tutorials/Installation/Install SoaS in VirtualBox-f18"
< Tutorials | Installation
Jump to navigation
Jump to search
| Line 20: | Line 20: | ||
===Time Zone select and [Done]=== | ===Time Zone select and [Done]=== | ||
*[[File:F18-15-TZ.png]] | *[[File:F18-15-TZ.png]] | ||
| − | + | ===Begin Installation=== | |
| − | *[[File: | + | :Appears when all warnings for unfinished spokes are gone |
| − | *[ | + | *[[File:F18-16-install.png]] |
| − | *[ | + | ===Root Password=== |
| − | + | * enter password 2 times and hit [back] 2 times | |
| + | *Wait for [Reboot] when install is completed | ||
| + | ===Remove CD/DVD in VirtualBox/Settings/Disk settings and start your Virtual Machine=== | ||
Revision as of 20:53, 27 November 2012
Install_SoaS_in_VirtualBox-with Anaconda f18
- Sample Install to Virtualbox 4.2.4 using F18 Beta DVDx86_64
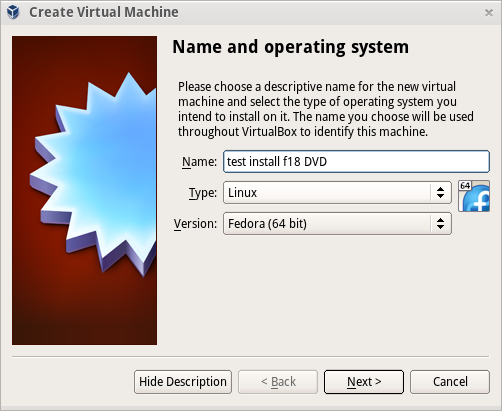
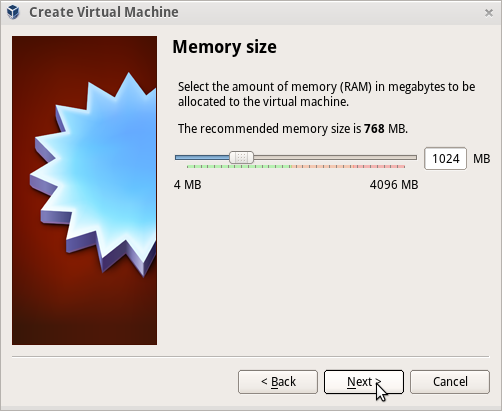


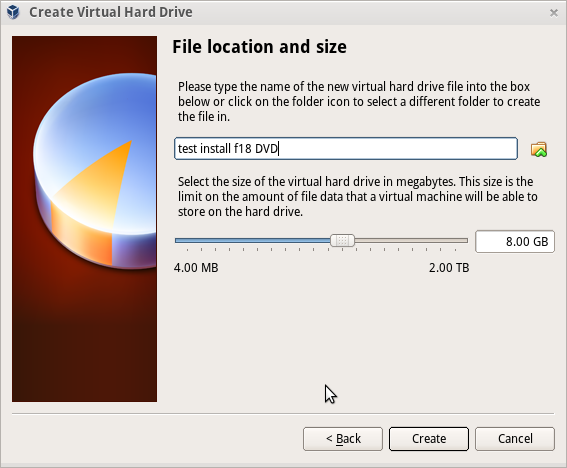


Settings In Virtualbox


Start Installer


Anaconda main Hub

Storage (Disk Selection) then [DONE]

Time Zone select and [Done]

Begin Installation
- Appears when all warnings for unfinished spokes are gone

Root Password
- enter password 2 times and hit [back] 2 times
- Wait for [Reboot] when install is completed