Homepage | Activities | Events | Lists | Development | Translate | Contact
Difference between revisions of "User:Walter/sandbox/Connecting"
< User:Walter | sandbox
Jump to navigation
Jump to search
| Line 20: | Line 20: | ||
]] | ]] | ||
|- | |- | ||
| − | |'''Hint:''' The Neighborhood view is accessed by clicking on the [:Image:Neighborhood key.png | Neighborhood icon]] on the Frame or by pressing the F1 key ([[OLPC/Neighborhood key|<font color="#6ebe46">OLPC hint</font>]]) | + | |'''Hint:''' The Neighborhood view is accessed by clicking on the [[:Image:Neighborhood key.png | Neighborhood icon]] on the Frame [[Image:Neighborhood key.png]] <br/> or by pressing the F1 key ([[OLPC/Neighborhood key|<font color="#6ebe46">OLPC-XO-1-specific hint</font>]]) |
|} | |} | ||
Revision as of 11:12, 16 June 2008
Wiki-based Getting Started Guide (based on Joyride 2037)
Getting Connected
There are multiple ways to connect to the Internet:
- wireless access point (WiFi hotspot);
- “School Server” mesh network;
- “simple” mesh network, which lets you collaborate directly with other XOs;
- wired network (may require an external adapter—e.g., see USB Ethernet adaptors).
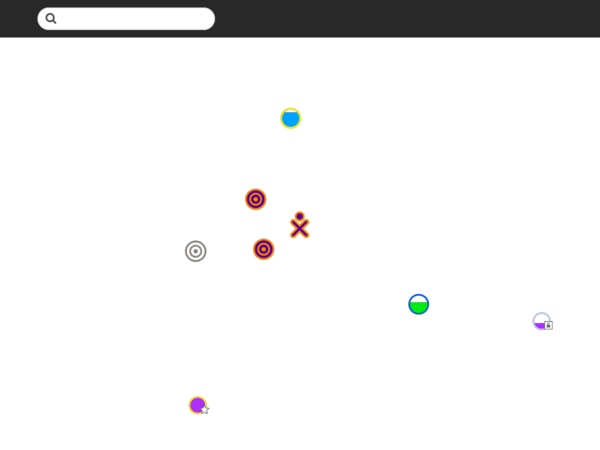
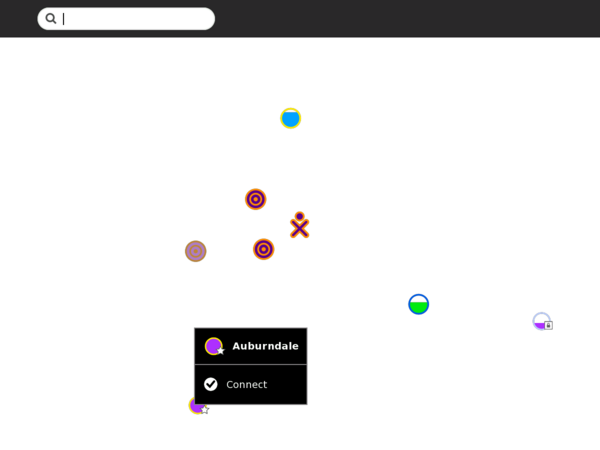
You make your connection from the Neighborhood view. Your current connection status is shown on the Frame.
Step 1: Go to the Neighborhood view
back | next
| Hint: The Neighborhood view is accessed by clicking on the Neighborhood icon on the Frame or by pressing the F1 key (OLPC-XO-1-specific hint) |

