XSCE: Difference between revisions
| Line 127: | Line 127: | ||
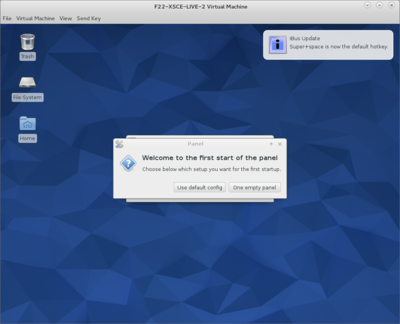
startxfce4 | startxfce4 | ||
[[File:Startxfce.png|400px]] | [[File:Startxfce.png|400px]] | ||
* Disable screensaver | * Disable screensaver | ||
* terminal: yum install firefox | * terminal: yum install firefox | ||
| Line 133: | Line 133: | ||
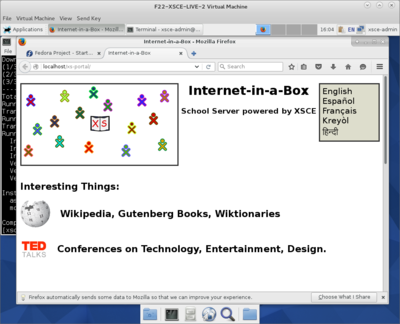
http:localhost/ | http:localhost/ | ||
[[File:Xs-portal.png|400px]] | [[File:Xs-portal.png|400px]] | ||
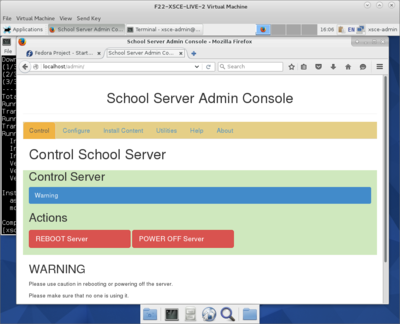
http:localhost/admin | http:localhost/admin | ||
[[File:Admin-logged_in.png|400px]] | [[File:Admin-logged_in.png|400px]] | ||
Revision as of 19:32, 27 November 2015
XSCEXSCE 6.0 Release Candidate 1 for CentOS “7.1”
updated 11/26/2015
- Important addendum:
- UNDER CONSTRUCTION
Download 1.8GB XSCE 6.0 Release Candidate 1 for CentOS “7.1” (November 2015)
- Download centos7_xsce.6.rc1.img
http://download.unleashkids.org/xsce/downloads/installer/centos/centos7_xsce.6.rc1.img
- use dd or gnome disks restore to write onto a USB memory stick, verifying its MD5 checksum equals
http://download.unleashkids.org/xsce/downloads/installer/centos/centos7_xsce.6.rc1.img.md5.txt
Follow instructions here: (Option 1.5)
Also See
- Google Docs with relevant info
- http://wiki.laptop.org/go/XS_Community_Edition/FAQ#Is_a_quick_installation_possible.3F
- https://docs.google.com/document/d/1Ez1H2LYrkqeXR_r5T93CMdmx9CeTJp_vC-IDBGam1Bc/edit#heading=h.hr9kca62zrfq
Configuration
- Connect a USBtoEthernet dongle (adapter) from the NUC to a live Ethernet cable (with
live Internet) so that during installation, software can download and update itself.
- Ideally, this live Ethernet wire leads from the dongle to a LAN port in the Netgear 3G
Modem/Router, whose WAN port (during this installation only!) leads to the Internet. Later you’ll verify “ping 8.8.8.8” and “ping mit.edu” works thru this wire, as will be discussed below.
- Connect an Ethernet cable and a powered TPLINK AP
- (LAN port, and tape over WAN port to make sure it’s never used)
to the NUC’s Ethernet port (its green link lights should light).
Install onto Intel NUC
- Write to a USB stick with dd or gnome-disks restore
- Windows users can use
http://sourceforge.net/projects/win32diskimager
Boot NUC with USB stick inserted, using F10 is necessary.
- Type “erase” when requested
- Watch for “done!” or #prompt; ignore “I/O error”.
- Run “reboot”
- Optionally Disable all USB booting in BIOS: F2 on Boot > Boot Configuration >
Boot Devices > USB
- Likewise this should already be disabled: Boot > Boot Configuration > UEFI Boot > Boot USB Devices First
Login to your new server as: root / centos, then change both passwords:
passwd (changes root password) passwd xsce-admin (has sudo powers, careful!)
- Verify that you have internet connection with “ping yahoo.com”
- Ensure both your networking connections are live and connected in their final position.
Get the most recent version of the XSCE playbook
“cd /opt/schoolserver/xsce”
“git pull origin master
Install the software that lets you access XSCE from a client browser
./installconsole” (fixes LAN; no need to “./runtags network”) reboot`
- Test client machines can reach
http://schoolserver.lan
or
http://172.18.96.1
- Finally, if you have no downstream WiFi AP, try
http://localhost
from a browser on the server itself, and also try
http://localhost/admin
with username “xsce-admin” and you the password you set above.
- Alternate:
Log into the command console (click on “Admin Console” link, user: xsce-admin pwd:g0adm1n)
- Select the services you want to install on the Configureservices enabled.
- Save configuration (green button)
- Install Configured options (red button)
- The teamviewer service will automatically install a graphical environment
Launch TeamViewer from topleft "Applications Menu" > Internet > TeamViewer 10
- Configure “Setup unattended access...” under TeamViewer’s Connection menu If You Dare.
- The openvpn will allow remote diagnosis and support
Install your favorite text editor. For example, run:
yum install emacs ●
- Install your favorite browser IF YOU UNDERSTAND ITS INHERENT RISKS TO
DESTROYING YOUR SERVER
Install xfce
- Caution the graphical environment seems to block schoolserver registration of XO-1.5 running 3.5.2 sugar 0.106
- If you want a graphical environment on your server, run:
yum groupinstall xfce
yum install firefox
start the xfce desktop
startxfce4
To make xfce start at default boot
cd /etc/systemd/system ln -sf /lib/systemd/system/graphical.target default.target
- If above line fails, run
unlink default.target
- then try it again.
- Reboot to test graphical login, presumably with username: xsce-admin
F22-XSCE-LIVE
experimental http://download.unleashkids.org/xsce/downloads/installer/experimental/F23-XSCE-LIVE.iso
Text mode Installation
- Download:
- http://download.unleashkids.org/xsce/downloads/installer/experimental/ (27-Nov-2015 14:27 1.7G )
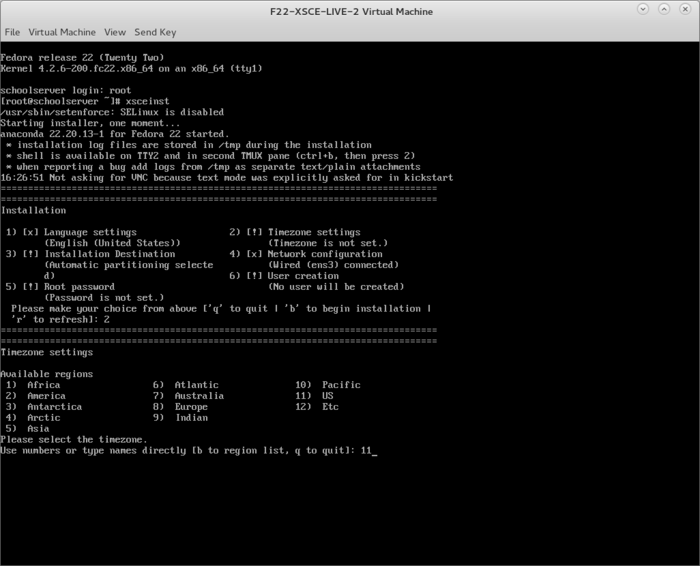
login as root, "xsceinst"
proceed through the guided prompts
reboot and login to xsce-admin / g0adm1n
- Should you want to create another user please do not use "xsce-admin" as a new user, that one is already occupied.
- Notes:Please refrain from using liveinst during testing, trying to implement that functionality in the future.
Install xfce
- Caution the graphical environment seems to block schoolserver registration of XO-1.5 running 3.5.2 sugar 0.106
- If you want a graphical environment on your server, run:
yum groupinstall xfce
start the xfce desktop
startxfce4
- Disable screensaver
- terminal: yum install firefox
- In firefox go to
http:localhost/
http:localhost/admin


