Debian/Raspberry Pi
Download
Rishabh Thaney has made a build for Raspberry Pi using Debian;
- 2017-06-26-rpi3-stretch.img.zip at Sugar Labs.
- 2017-06-26-rpi3-stretch.img.zip on Google Drive,
- On around 4th July there was mention on IRC of two later builds which add automatic login, but no information yet as to what else they include, and there have been no new commits. Contact Rishabh if more information needed. --Quozl (talk) 20:05, 4 July 2017 (EDT)
See also: GSoC 2017 Project Ideas by Sugar Labs, GSoC 2017 Proposal by Rishabh, and GSoC 2017 Blog by Rishabh.
Testing
Report issues to https://github.com/sugarlabs/rpi23-gen-image
On images dated before 2017-07-04, select "sugar" in top right bar at login.
2017-06-26
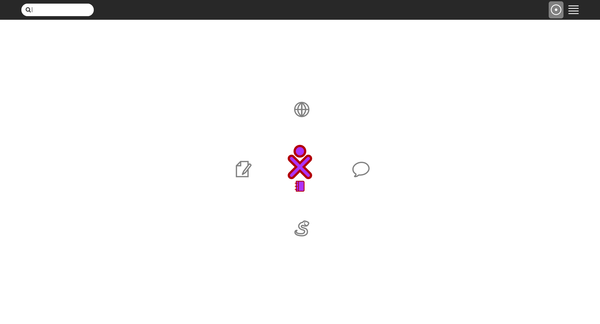
Home View (F3 key).
Comparison
Please also compare against the Fedora 26 SoaS image, as it has many more working activities.
Fedora SoaS does not include wireless firmware, see the FAQ for a fix.
2017-07-03
- Fedora-SoaS-armhfp-26-1.3-sda.raw.xz at Fedora Project.
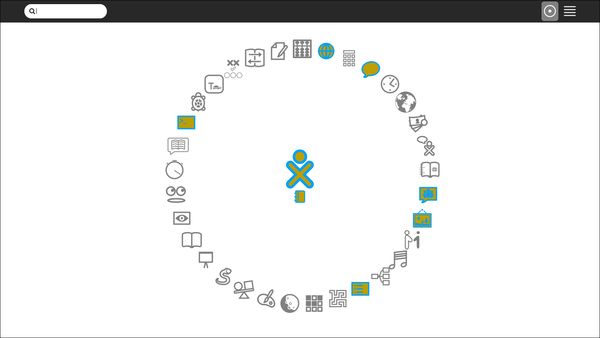
Home View (F3 key).
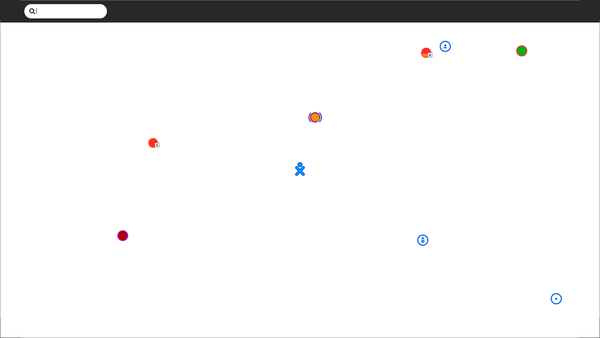
Neighborhood View (F1 key).
My Settings, Network, Collaboration Server was set to jabber.sugarlabs.org before this screenshot. The default in Sugar 0.110 is not to use jabber.sugarlabs.org unless configured.
Rishabh used Etcher but his rpi3 did not boot. James and Rishabh confirmed four partitions on the card of the correct size. James suggested checking for write corruption by reading back the exact number of blocks written and comparing md5sum.
Suggested Installation
Thomas suggested writing to microSD card using Fedora Media Writer;
Also available for MAC :FedoraMediaWriter-osx-4.1.0.dmg
and windows :FedoraMediaWriter-win32-4.1.0.exe
or "dnf install mediawriter": in fedora
in link posted above ^
- here are his test steps;
- download Fedora-SoaS-armhfp-26-1.3-sda.raw.xz
- select and extract
- start Fedora Media Writer (FMW)
- select "Custom"
- select Fedora-SoaS-armhfp-26-1.3-sda.raw
- Choose rpi3 from drop-down in FMW
- Insert micro SD in Mini Card Reader and insert in USB port
- Choose rpi3 from drop-down in FMW
- Write micro SD
- Insert in rpi3 slot and power up
Reproducing
This was reproduced on Debian stretch platform which was set up in an schroot shell on Ubuntu.
Setup Schroot
Set up a schroot environment like this:
- Install the schroot and debootstrap packages,
sudo apt install schroot debootstrap
- Create the stretch filesystem,
sudo mkdir -p /srv/chroot/stretch
sudo debootstrap stretch /srv/chroot/stretch
- Make a file /etc/schroot/chroot.d/stretch,
[stretch]
type=directory
personality=linux
directory=/srv/chroot/stretch
- Log into your schroot shell from the terminal,
sudo schroot -c stretch
See https://wiki.debian.org/Schroot for alternate methods.
Setup Builder
Setup the builder within the schroot shell like this;
- Clone the repository
git clone https://github.com/sugarlabs/rpi23-gen-image
- Install dependencies by going through the README.md file and executing the commands described,
Run Builder
- Change your directory to the cloned repo and run this command to start the building process:
sh rpi23-gen-image.sh
This takes some time as the scripts start downloading and configuring packages to build an image.
- Once the process is complete in the terminal, navigate to this directory:
~/rpi23-gen-image/images/stretch
to find the image that was built.
Some changes have been made to the original repo: https://github.com/drtyhlpr/rpi23-gen-image which can be viewed in the commit history.


