Difference between revisions of "Debian/Raspberry Pi"
m (→Comparison: edit text) |
(good point, no need for comparison section now) |
||
| Line 21: | Line 21: | ||
Does not auto-mount an inserted USB. | Does not auto-mount an inserted USB. | ||
| − | |||
| − | |||
| − | |||
| − | |||
| − | |||
== Reproducing == | == Reproducing == | ||
Revision as of 19:35, 16 August 2017
Download
Rishabh Thaney has made builds for Raspberry Pi using Debian;
See also:
- GSoC 2017 Project Ideas by Sugar Labs,
- GSoC 2017 Proposal by Rishabh, and;
- GSoC 2017 Blog by Rishabh.
Testing
Starts at color gender age home view as user "pi", wireless works; showing ad-hoc and wireless Access points.
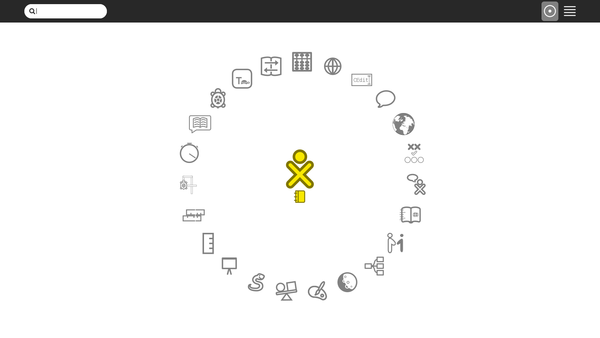
Home View (F3 key) screenshot:
Does not auto-mount an inserted USB.
Reproducing
This was reproduced on Debian stretch platform which was set up in an schroot shell on Ubuntu.
Setup Schroot
Set up a schroot environment like this:
- Install the schroot and debootstrap packages,
sudo apt install schroot debootstrap
- Create the stretch filesystem,
sudo mkdir -p /srv/chroot/stretch
sudo debootstrap stretch /srv/chroot/stretch
- Make a file /etc/schroot/chroot.d/stretch,
[stretch]
type=directory
personality=linux
directory=/srv/chroot/stretch
- Log into your schroot shell from the terminal,
sudo schroot -c stretch
See https://wiki.debian.org/Schroot for alternate methods.
Setup Builder
Setup the builder within the schroot shell like this;
- Clone the repository
git clone https://github.com/sugarlabs/rpi23-gen-image
- Install dependencies by going through the README.md file and executing the commands described,
Run Builder
- Change your directory to the cloned repo and run this command to start the building process:
sh rpi23-gen-image.sh
This takes some time as the scripts start downloading and configuring packages to build an image.
- Once the process is complete in the terminal, navigate to this directory:
~/rpi23-gen-image/images/stretch
to find the image that was built.
Some changes have been made to the original repo: https://github.com/drtyhlpr/rpi23-gen-image which can be viewed in the commit history.
Adding the automatic login feature
- While the image is building, navigate to the following directory:
~/rpi23-gen-image/images/stretch/build/chroot/etc
and depending on the stage of the build process wait for a folder named 'lightdm' to appear.
- Then open this file with nano/gedit and with root priviledges:
~/rpi23-gen-image/images/stretch/build/chroot/etc/lightdmlightdm.conf.dpkg-new
- Add/uncomment the following lines and configure them as shown below:
autologin-session = sugar
[Seat:*]
#type=xlocal
pam-service=lightdm
pam-autologin-service=lightdm-autologin
autologin-user=pi #(change this if you have configured a different user)
autologin-password=raspberry #(change this if you have configured a different password)
autologin-user-timeout=0
session-wrapper=/etc/X11/Xsession
greeter-session=lightdm-greeter
- Save the file and wait for the build process to complete.
- Boot into your image with this configuration and autologin should work fine.
