Activities/Yardstickactivity: Difference between revisions
No edit summary |
|||
| (4 intermediate revisions by the same user not shown) | |||
| Line 11: | Line 11: | ||
---- | ---- | ||
=== Screen Captures === | |||
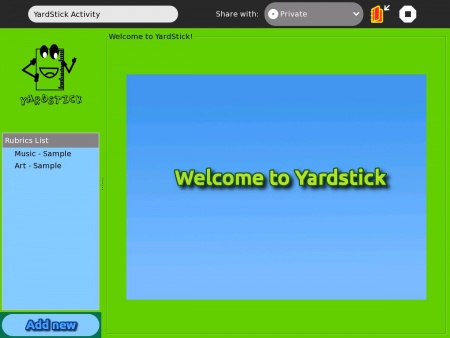
[[File:Yardstick_-_Figure_1.jpeg|450px|thumb|left|Figure 1 User interface of the YardStick activity.]] | |||
<br /> | |||
<br /> | |||
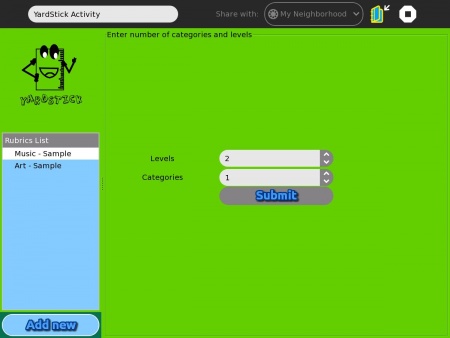
[[File:Yardstick_-_Figure_2.jpeg|450px|thumb|left|Figure 2 In adding a rubric, you need to press the “Add New Rubric” button at the lower left-hand side of the activity. The first step is to indicate the number of levels and categories. To do this, use the “spin box” provided in the page. Use the arrow pointing up to increment the number in the field and the arrow pointing down to decrement. You can also type in the number of levels and categories in the field provided. For this version of YardStick, the maximum number of rows and columns are set to 9. Figure 1 shows the page where the user needs to input the number of levels and categories. ]] | |||
<br /> | |||
<br /> | |||
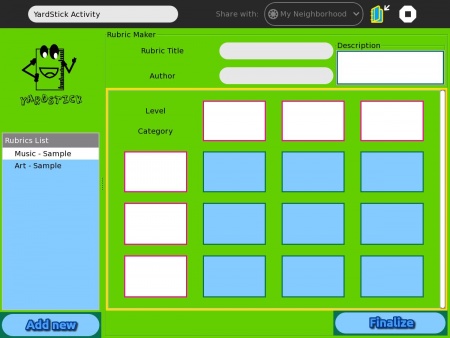
[[File:Yardstick_-_Figure_3.jpeg|450px|thumb|left|Figure 3 shows the page where the user needs to build the rubric. The activity will ask for a rubric name, rubric author, description, levels (in the columns) and categories (in the rows). The user also needs to describe each level in each category. This will define each level per category for grading purposes. Clicking on the “Finalize” button will save the rubric. It will now be listed in the left-hand side of the activity (Rubrics List).]] | |||
<br /> | |||
<br /> | |||
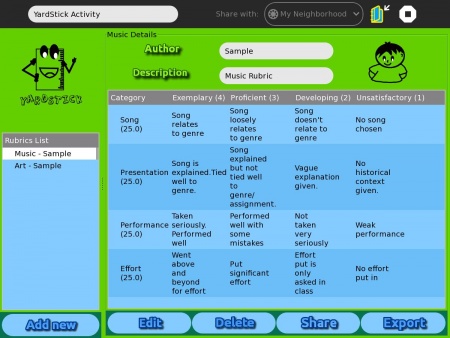
[[File:Yardstick_-_Figure_4.jpeg|450px|thumb|left|Figure 4 The user can view a specific rubric by selecting a rubric through the “Rubrics List” in the left-hand side of the activity. Figure 3 shows the page of the “view rubric” functionality. From this page, the user can edit, delete or send the rubric to the ScorePad activity.]] | |||
<br /> | |||
<br /> | |||
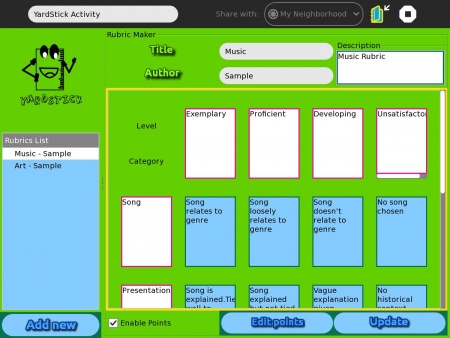
[[File:Yardstick_-_Figure_5.jpeg|450px|thumb|left|Figure 5 After clicking the “Edit” button from the view page in Figure 3, the activity will direct you | |||
to the page where you can edit the rubric. Looking at the lower part of Figure 4, the user has the | |||
option to assign numerical grades to each criterion. Checking the “Enable Points” check box will | |||
enable the “Add Points” button. This will direct the activity to the page where the user can give | |||
numerical weight to each criterion.]] | |||
<br /> | |||
<br /> | |||
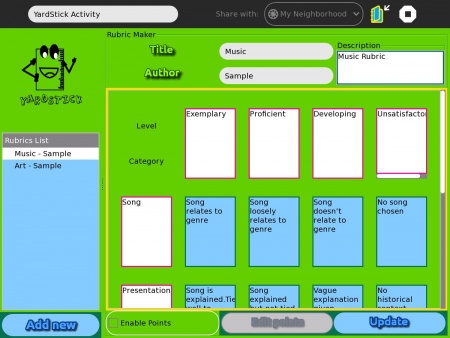
[[File:Yardstick_-_Figure_6.jpeg|450px|thumb|left|Figure 6 shows how to enable points in the YardStick activity. This way, the user has the freedom to have a final numerical grade after the peer assessment.]] | |||
<br /> | |||
<br /> | |||
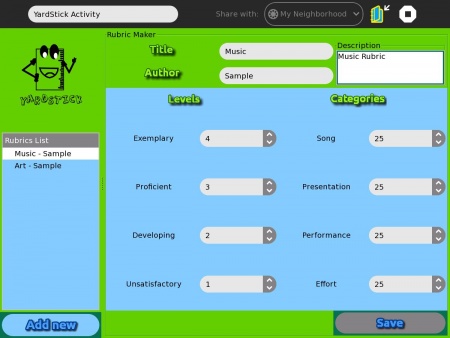
[[File:Yardstick_-_Figure_7.jpeg|450px|thumb|left|Figure 7 shows how to add numerical weights in a rubric. At the left side, we can see the levels of | |||
the rubric. At each level, the user needs to assign specific points for that level. Then for each category, | |||
the user needs to add the percentage of that category in a rubric. This will imply that the categories’ | |||
percentages should sum to 100. Table 1 shows a sample computation of the results after peer | |||
assessment. The following values are the tallies of votes gained in each level per category.]] | |||
<br /> | |||
<br /> | |||
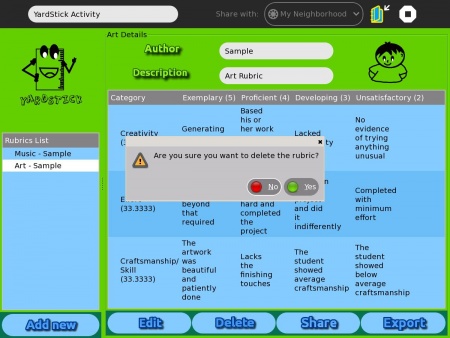
[[File:Yardstick_-_Figure_8.jpeg|450px|thumb|left|Figure 8 shows the pop-up window after clicking the “Delete” button. To delete a specific rubric, | |||
click the name of the rubric on the “Rubrics List”. Then click on the “Delete” button. This will | |||
permanently remove the rubric on the database of the YardStick activity. | |||
]] | |||
<br /> | |||
<br /> | |||
[[File:Yardstick_-_Figure_9.jpeg|450px|thumb|left|Figure 9 Because the YardStick activity comes hand-in-hand with the ScorePad activity, the activity | |||
should be able to send the rubric to the ScorePad activity. To be able to do this, in the view page of a | |||
specific rubric, click on the export button. The rubric you sent will now be available in the ScorePad | |||
activity. It can now be used to assess projects using the ScorePad activity.]] | |||
Latest revision as of 16:29, 17 May 2012
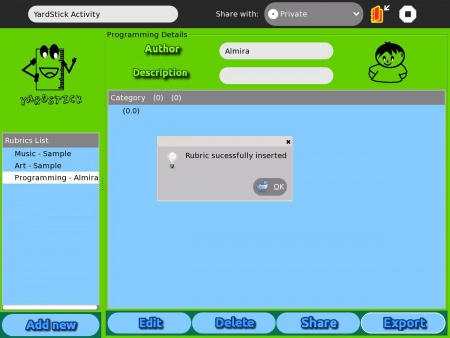
The YardStick activity serves as a rubric-maker tool. This activity creates new rubric that can be used in the ScorePad activity ([1]). The rubric created in this activity can be sent to the database of the ScorePad activity. Then the ScorePad activity can use this rubric to evaluate other people’s project. The YardStick activity needs the following information: rubric name, rubric author, description of the rubric, number of rows and columns (for the number of criteria and level, respectively), the levels, the criteria for grading and the descriptions for each level in every criterion. The functionalities of the YardStick Activity are the following:
- Add rubric
- View rubric
- Edit rubric
- Delete rubric
- Add numerical points in every level of every category and the percentage of each category
- Export rubric to ScorePad activity.
Screen Captures
