Homepage | Activities | Events | Lists | Development | Translate | Contact
Difference between revisions of "Tutorials/Installation/Install with liveinst"
< Tutorials | Installation
Jump to navigation
Jump to search
Inkyfingers (talk | contribs) (link, https://www.virtualbox.org/) |
m (clarification on Hard Drive install) |
||
| Line 8: | Line 8: | ||
: i386: [http://download.fedoraproject.org/pub/alt/spins/linux/releases/16/Spins/i686/Fedora-16-i686-Live-SoaS.iso Fedora-16-i686-Live-SoaS] | : i386: [http://download.fedoraproject.org/pub/alt/spins/linux/releases/16/Spins/i686/Fedora-16-i686-Live-SoaS.iso Fedora-16-i686-Live-SoaS] | ||
: x86-64: [http://download.fedoraproject.org/pub/alt/spins/linux/releases/16/Spins/x86_64/Fedora-16-x86_64-Live-SoaS.iso Fedora-16-x86_64-Live-SoaS] | : x86-64: [http://download.fedoraproject.org/pub/alt/spins/linux/releases/16/Spins/x86_64/Fedora-16-x86_64-Live-SoaS.iso Fedora-16-x86_64-Live-SoaS] | ||
| − | * This tutorial is set up for a 4 GB USB stick or [https://www.virtualbox.org/ VirtualBox] 4 GB hard disk install. | + | * This tutorial is set up for a '''4 GB USB stick''' or [https://www.virtualbox.org/ '''VirtualBox'''] '''4 GB hard disk install.''' |
: See custom layout screens below. It may be adapted for a regular hard disk. | : See custom layout screens below. It may be adapted for a regular hard disk. | ||
* Burn and Boot the CD, or load the .iso [[Sugar on a Stick/Installation|as described here]], and boot the Live USB. | * Burn and Boot the CD, or load the .iso [[Sugar on a Stick/Installation|as described here]], and boot the Live USB. | ||
| Line 33: | Line 33: | ||
[[File:7-Screenshot-f16-sugar-liveinst-language.png|400px]] | [[File:7-Screenshot-f16-sugar-liveinst-language.png|400px]] | ||
| − | === | + | ===Storage Devices=== |
* Choose basic storage devices. | * Choose basic storage devices. | ||
* Click [Next]. | * Click [Next]. | ||
| Line 44: | Line 44: | ||
* Enter it twice. | * Enter it twice. | ||
[[File:11-Screenshot-f16-sugar-liveinst-password.png|400px]] | [[File:11-Screenshot-f16-sugar-liveinst-password.png|400px]] | ||
| − | === | + | ===Type of Installation=== |
| − | + | :1-) USB-stick install "Custom" | |
| + | :you MUST SELECT THIS OPTION. | ||
| + | :2-) Hard Disk install select "use all space" and skip the following section | ||
| + | : click '''[Next]''' Proceed to '''Copying to hard drive''' | ||
[[File:12-Screenshot-f16-sugar-liveinst-custom_layout.png|400px]] | [[File:12-Screenshot-f16-sugar-liveinst-custom_layout.png|400px]] | ||
* Select edit /sda, or the disk where you want to install Sugar. | * Select edit /sda, or the disk where you want to install Sugar. | ||
Revision as of 08:08, 27 January 2012
Fedora-16-Live-SoaS liveinst
- The Fedora Sugar on a Stick Spin can be installed from a booted SoaS Live CD/USB.
Download links:
- i386: Fedora-16-i686-Live-SoaS
- x86-64: Fedora-16-x86_64-Live-SoaS
- This tutorial is set up for a 4 GB USB stick or VirtualBox 4 GB hard disk install.
- See custom layout screens below. It may be adapted for a regular hard disk.
- Burn and Boot the CD, or load the .iso as described here, and boot the Live USB.
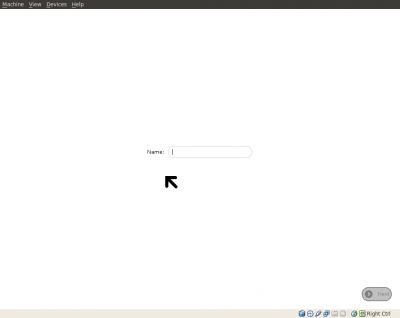
Name Screen
- First Screen that appears when boot is done.
- The Name and colors screens set the individual SSH ID for the user and only run once.
- (Enter Name you want to use.)
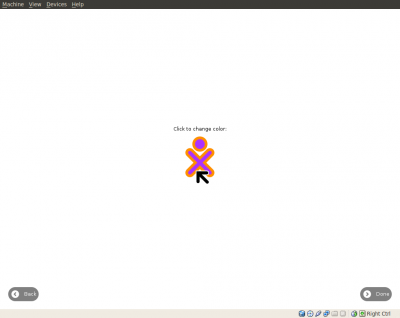
Colors
- Chose colors for your Sugar learner avitar

- Click on the avitar to change colors - repeat to change again.
- Click (done) when you are happy with it.
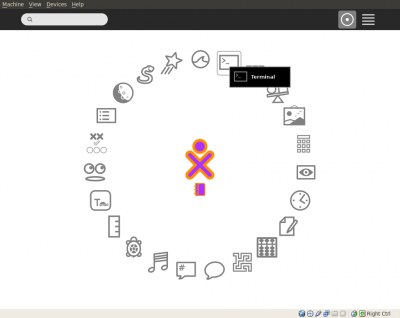
Home view
- Sugar starts at the Home view (F3).
- Terminal application is selected.
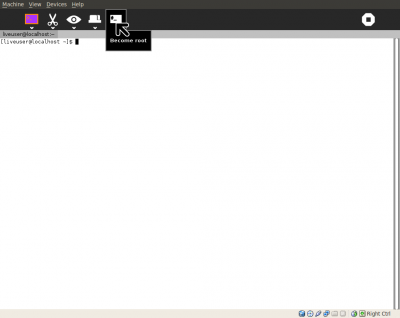
- Click on [#_] Become root
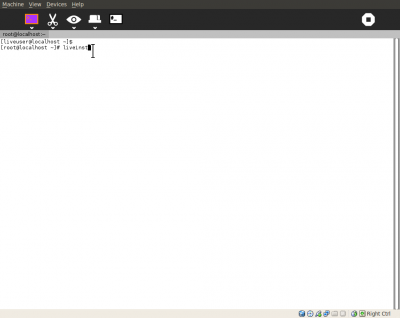
liveinst
- Enter the command
liveinst, which starts the Anaconda installer.
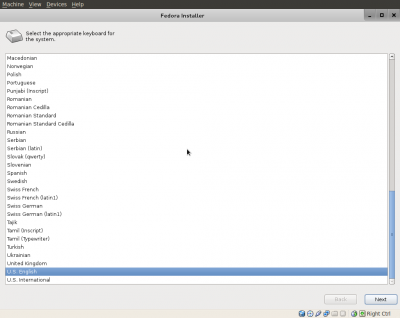
- Language
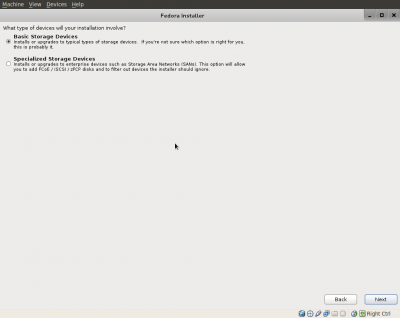
Storage Devices
- Choose basic storage devices.
- Click [Next].
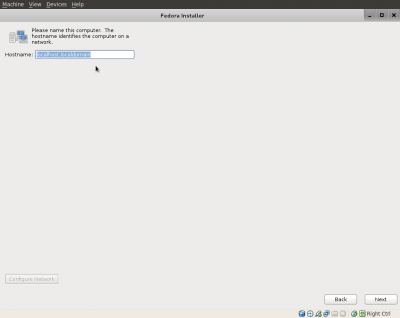
- Hostname selection
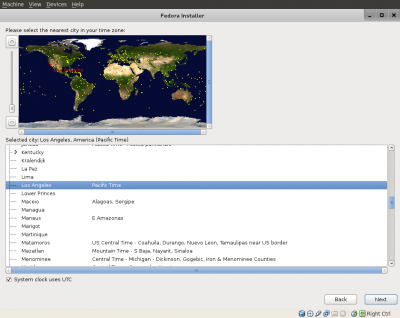
- Time zone selection
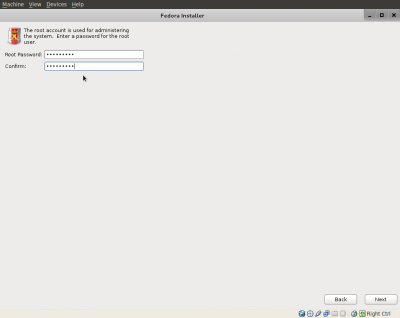
Password
- Enter it twice.
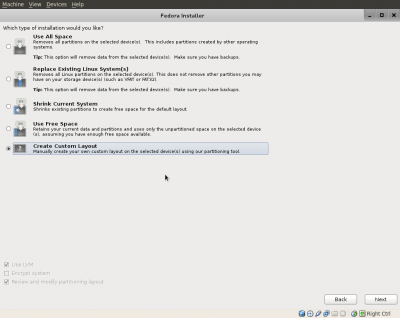
Type of Installation
- 1-) USB-stick install "Custom"
- you MUST SELECT THIS OPTION.
- 2-) Hard Disk install select "use all space" and skip the following section
- click [Next] Proceed to Copying to hard drive
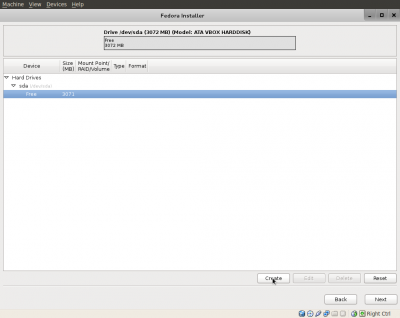
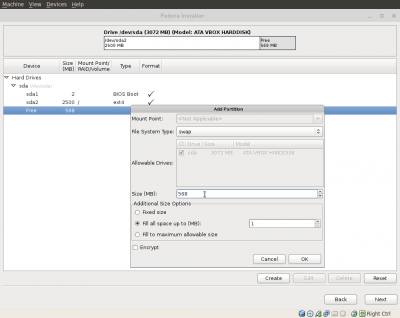
- Select edit /sda, or the disk where you want to install Sugar.
- Create:
- File System Type: BIOS Boot Size (MB): 2
- Mount Point: / File System Type: ext4 Size (MB): 2500 (or space available)
- File System Type: swap Size (MB): 500 for hard disk installation. (Swap is not recommended for USB flash drives.)
- (Fedora 16 (and later) requires a BIOS boot partition in the default configuration.)
- Click [OK].
- [Next]
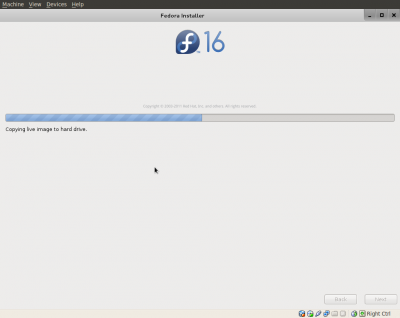
Copying to hard drive
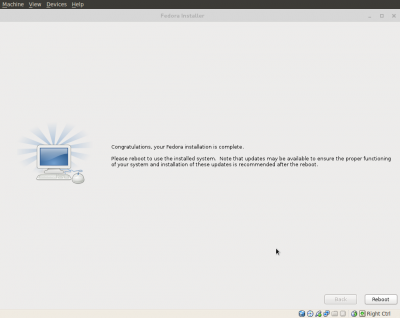
Congratulations
- Finished
- [Reboot]
- Shut down the computer.
- Reboot from the USB device or hard drive.
- On reboot, you will enter "firstboot" to register yourself and your Sugar Learner colors.
- This is similar to the name and color screens when the Live CD/USB first booted.
