Difference between revisions of "Fedora 19"
Jump to navigation
Jump to search
m (→References: f19 Alpha Release Criteria) |
m |
||
| Line 2: | Line 2: | ||
==Fedora 19 anaconda installer== | ==Fedora 19 anaconda installer== | ||
*Test versions of f19 rawhide: | *Test versions of f19 rawhide: | ||
| + | *https://dl.fedoraproject.org/pub/alt/anaconda/anaconda-19.6-boot.iso | ||
| + | *https://dl.fedoraproject.org/pub/alt/anaconda/livecd-fedora-livecd-desktop-201212070809.iso | ||
:http://alt.fedoraproject.org/pub/alt/qa/20130122_f19rawhide-smoke1/ | :http://alt.fedoraproject.org/pub/alt/qa/20130122_f19rawhide-smoke1/ | ||
::Boots to Console | ::Boots to Console | ||
Revision as of 18:28, 14 February 2013
Fedora 19 anaconda installer
- Test versions of f19 rawhide:
- https://dl.fedoraproject.org/pub/alt/anaconda/anaconda-19.6-boot.iso
- https://dl.fedoraproject.org/pub/alt/anaconda/livecd-fedora-livecd-desktop-201212070809.iso
- http://alt.fedoraproject.org/pub/alt/qa/20130122_f19rawhide-smoke1/
- Boots to Console
- http://koji.fedoraproject.org/koji/taskinfo?taskID=4912340
- http://kojipkgs.fedoraproject.org//work/tasks/2340/4912340/Fedora-19-Nightly-20130129.10-x86_64-Live-xfce.iso
- Boots fine and installs to VirtualBox
- Installs to USB HD from dd usb
dd if=Fedora-19-Nightly-20130129.10-x86_64-Live-xfce.iso of=/dev/sd(x) bs=2M
- Use "mount" in terminal to see device name /dev/sd(x) x=b,c,d,,,
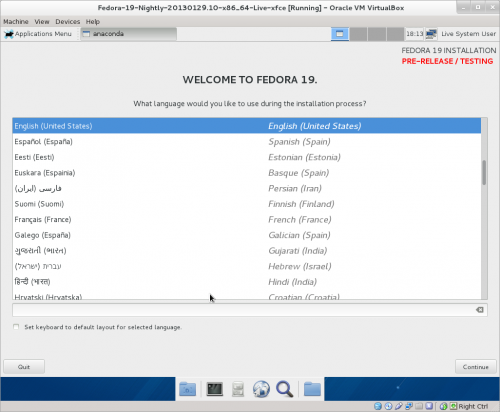
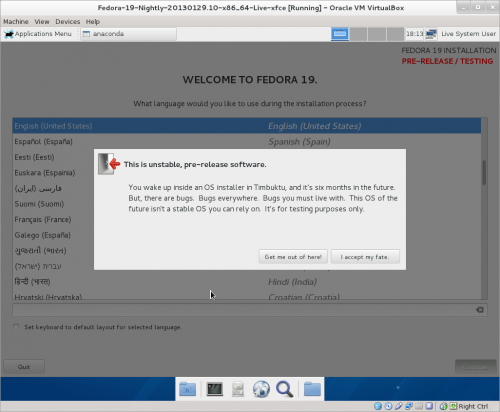
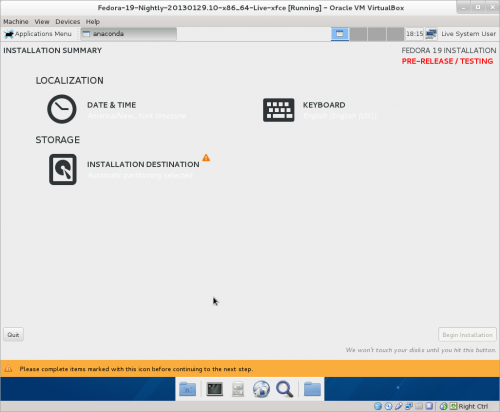
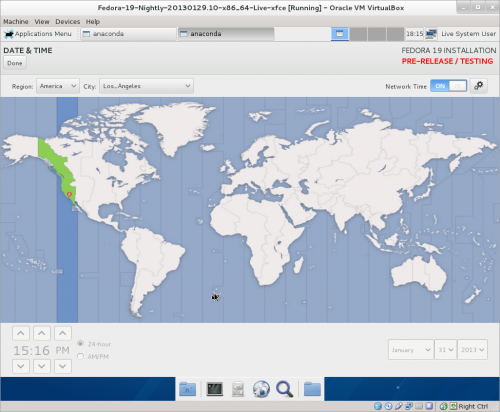
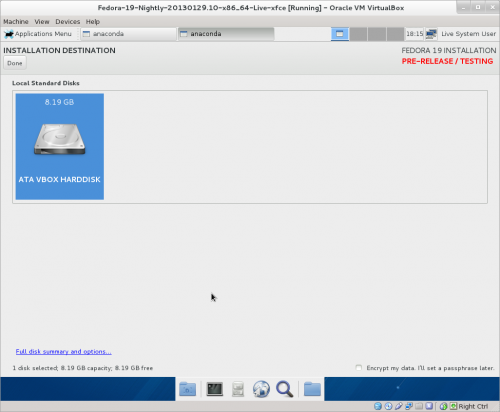
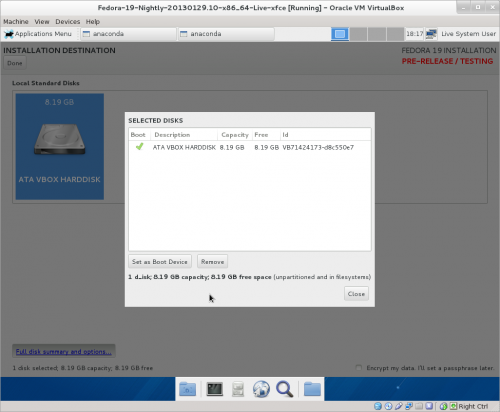
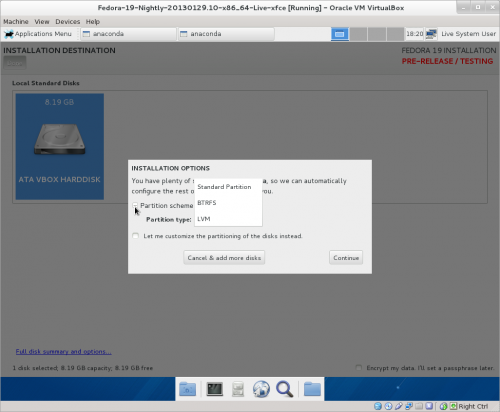
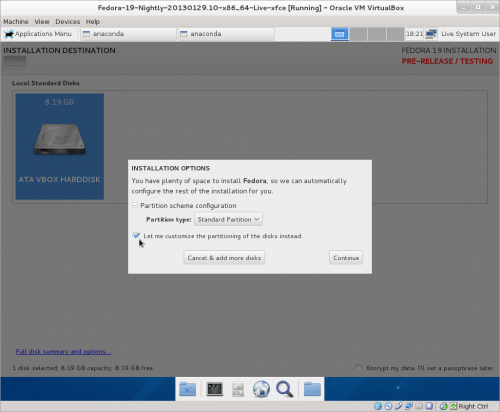
- Annotated screen-shots 01/31/2013
- Fedora-19-Nightly-20130129.10-x86_64-Live-xfce.iso
- NOTE this is a live install so there are less options on the main hub
- log in to wireless AP in while running live CD
- Values will be added to install
Welcome
Main Hub
Date & Time
Installation Destination
full disk summary & options
Installation Options
Partition Scheme
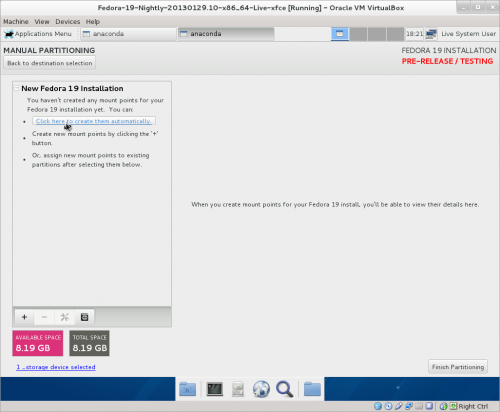
Customize partition of the disks
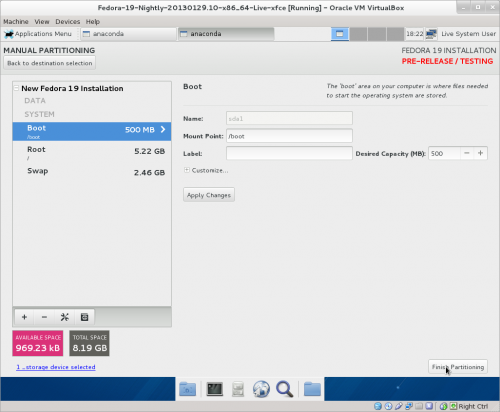
Manual Partitioning
- Automatic selected
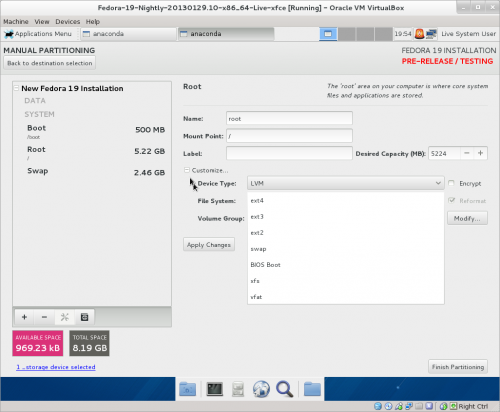
Customize
- You can edit each partition for file type and label
- IF 2 or more disks were selected in "Installation Destination" Raid would be available
- (grub will be installed on the disk selected in set as boot device screen)
Finish partitioning
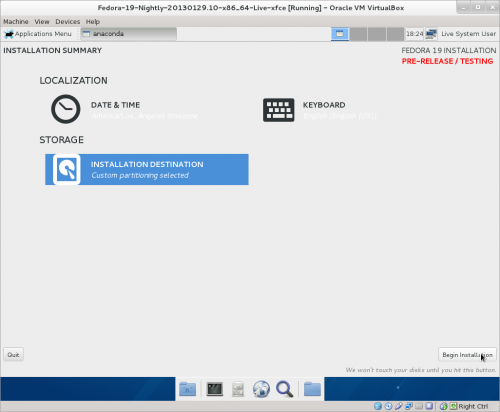
Begin Installation
- Enter root password
- (Back 2 times)
- Installing
