Tutorials/Installation/Install SoaS in VirtualBox-f18: Difference between revisions
| Line 23: | Line 23: | ||
*[[File:F18-13-disk.png]] | *[[File:F18-13-disk.png]] | ||
===Software Selection and [ | ===Software Selection and [Done]=== | ||
*select left column (Environment) and right Column (Add-ons) | *select left column (Environment) and right Column (Add-ons) | ||
[[File:F-14-software-spoke.png]] | [[File:F-14-software-spoke.png]] | ||
Revision as of 21:54, 27 November 2012
Install_with Anaconda f18 in VirtualBox
- anaconda NuUI installer is NEW and has bugs:
- A major feature of f18 is the development of newUI a new anaconda.
- Sample Install to Virtualbox 4.2.4 using F18 Beta DVDx86_64
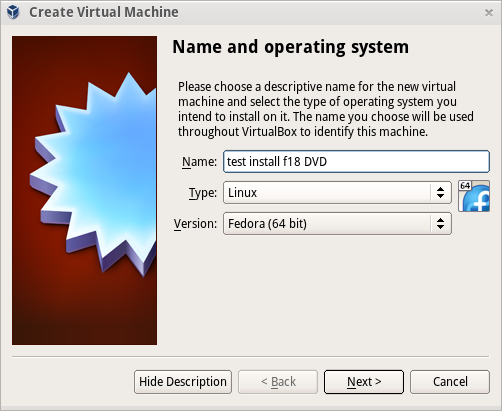
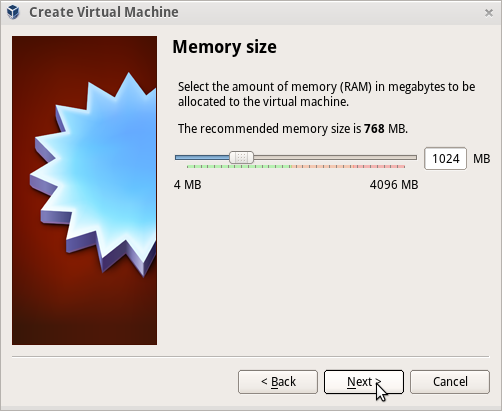


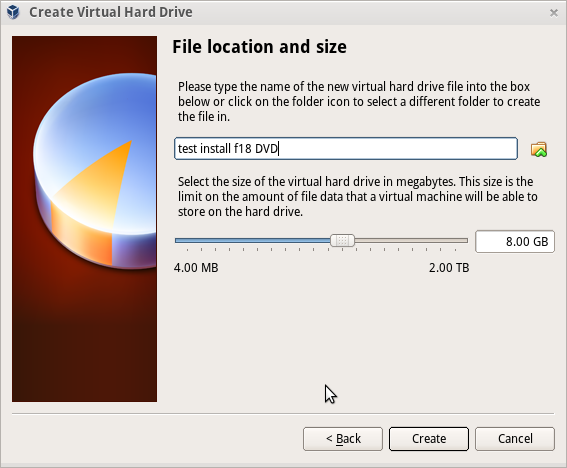


Settings In Virtualbox


Start Installer


Anaconda main Hub

Storage (Disk Selection) then [DONE]

Software Selection and [Done]
- select left column (Environment) and right Column (Add-ons)

- Wait for software checking
Network Configuration and [Done]
- recognizes wired DHCP connections if present
- Wireless will show up if wlan0 is visible and supported
- [Configure] to set up either connection.
Time Zone select and [Done]

Begin Installation
- Appears when all warnings for unfinished spokes are gone

Root Password
- Appears after install begins

- enter password on both lines and hit [back] 2 times
- Wait for [Reboot] when install is completed